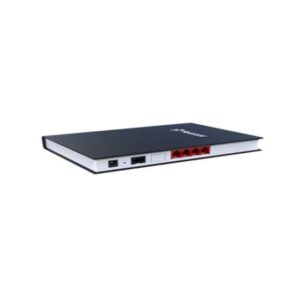
Description
P570 Yeastar
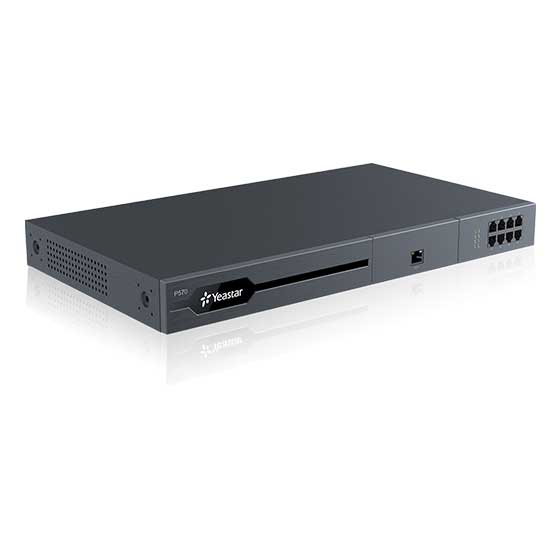
Yeastar P570 Overview
Front panel
Yeastar P570 supports 2 expansion boards. You can install EX08 board or EX30 board according to your needs.

| No. | Interface or Expansion Board | Description | ||
|---|---|---|---|---|
| ① | NFC tag | Tap NFC-capable mobile phone’s back against Yeastar logo to quickly configure network settings. | ||
| ② | EX30 Expansion Board | Used to connect an E1/T1/J1 line. | ||
| ③ | EX08 Expansion Board |
Up to 4 modules and 8 RJ11 ports are supported on the expansion board. The 8 RJ11 ports can be used to connect to different objects:
|
||
Rear panel
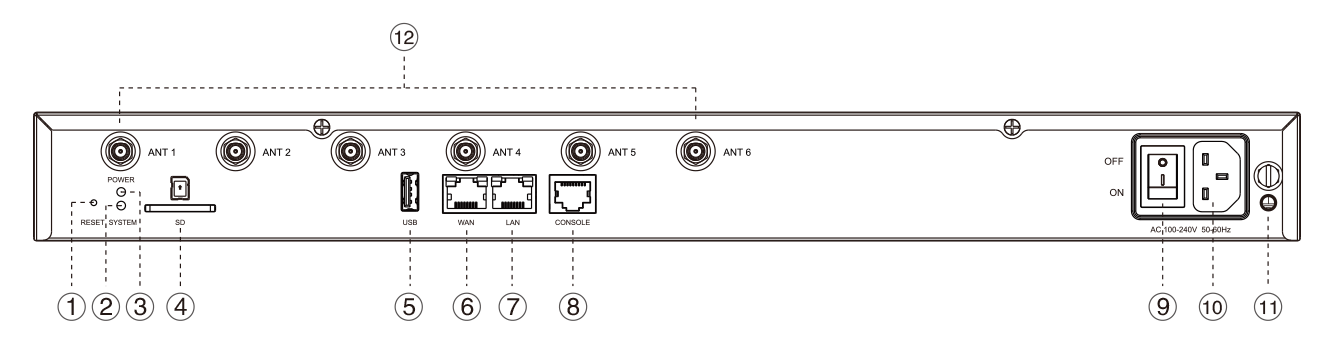
| No. | Indicator, Button, or Interface | Description |
|---|---|---|
| ① | Reset button | Press the button and hold for 10 seconds to restore to factory defaults. |
| ② | System Indicator | Indicate the system status.
|
| ③ | Power Indicator | Indicate the power status. |
| ④ | SD Slot | Insert an SD card to store recording files, voicemails, or logs. |
| ⑤ | USB Slot | Insert a USB flash drive to storage recording files, voicemails, or logs. |
| ⑥ | WAN Port |
For connection to Wide Area Network (WAN). |
| ⑦ | LAN Port | For connection to Local Area Network (LAN). |
| ⑧ | Console | Connect RS232 line to debug the system. |
| ⑨ | Power Switch | Press this button to switch on/off the device. |
| ⑩ | Power Inlet | Connect the supplied power supply to the port. |
| ⑪ | Protective Earth | Connect to the ground to reduce the risk of electrocution to the user or protect the PBX from bad effects of external noise in case of a lightning strike. |
| ⑫ | Antenna Socket | Rotate the antenna into the Antenna Socket. |